- Finished my work term with GM, so I’m back working on the kit. Planning to work pretty extensively until the school semester starts back up in January.
- Engine
- I’m hoping to get the engine running this week. Wiring and cooling are the big tasks that still need to get completed.
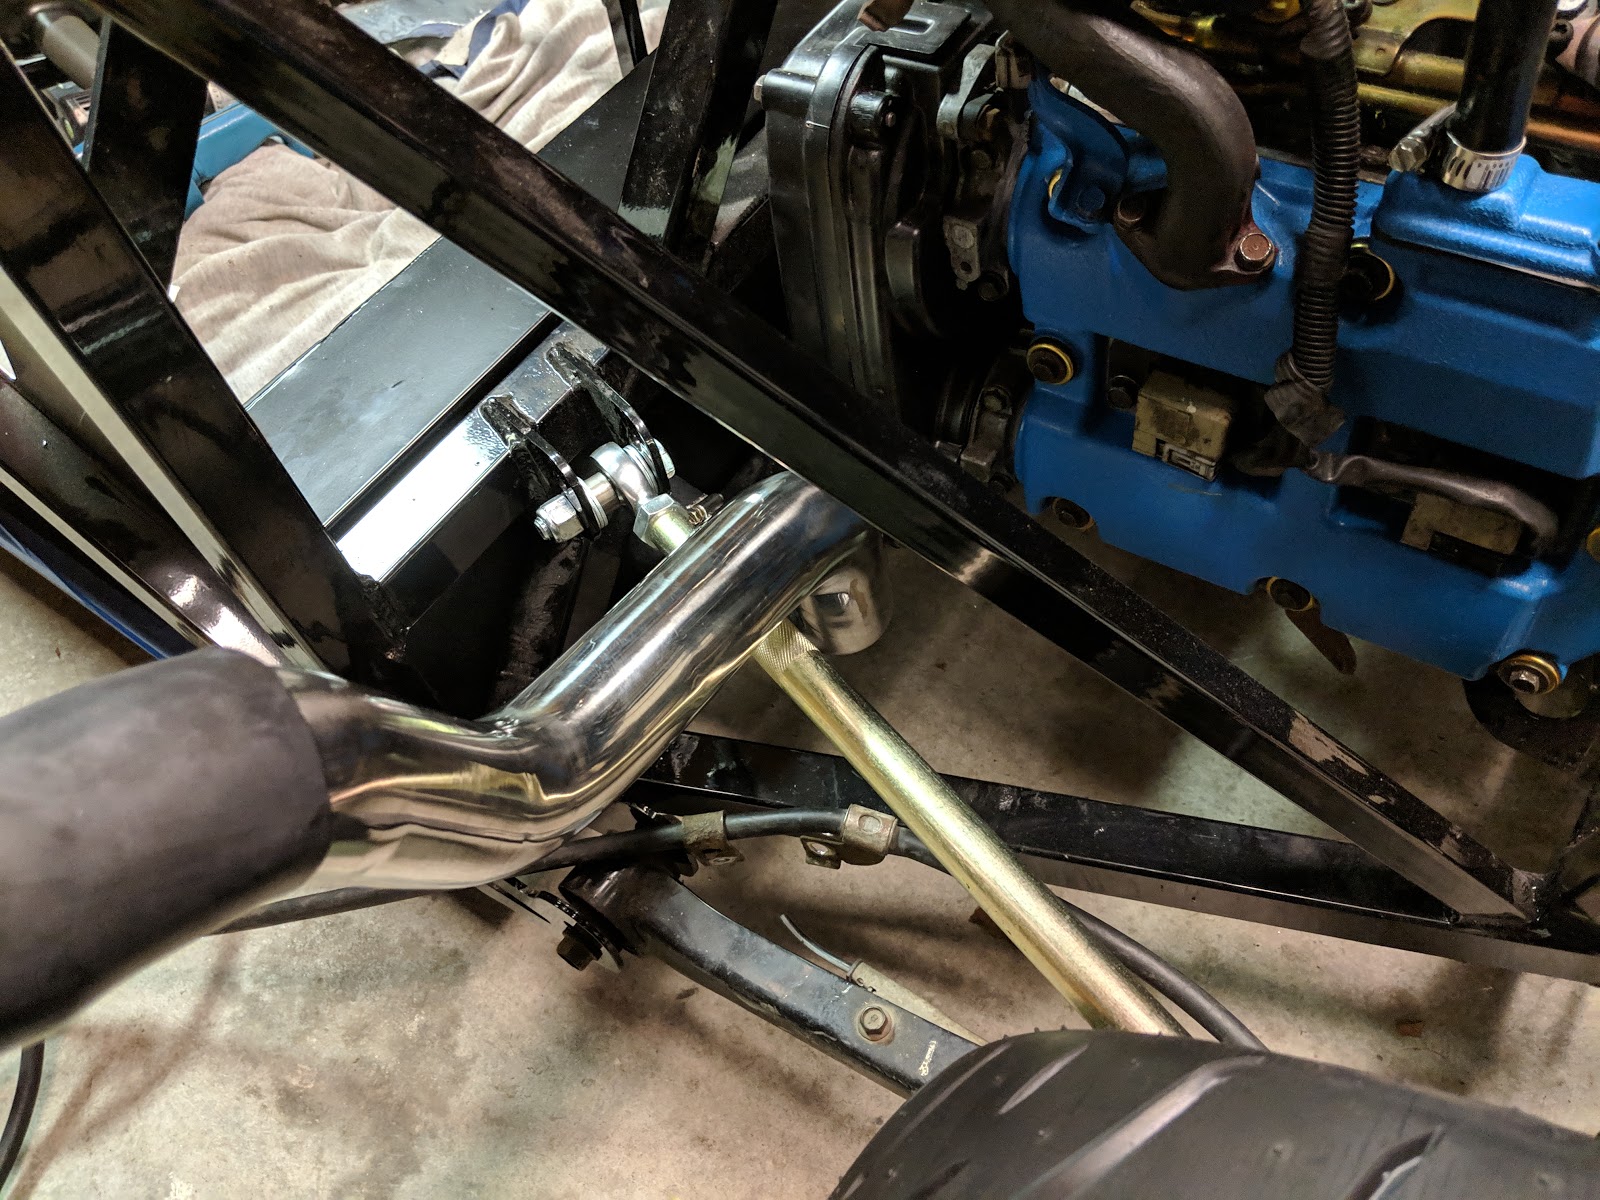
- Alternator and AC compressor are mounted and the alternator belt is installed. I’m waiting to install the AC belt until the entire system is setup.
- Wiring
- Repaired the ignition switch wiring that was poorly spliced by the previous owner.
- iWire Harness
- I’ve unpacked the harness and begun figuring how everything is going to route and mount. The fuses and ecu will mount with 6mm rivnuts and I will cable tie the harness to the frame as it’s routed.
- My fusebox is located on the front side of the passenger firewall rather than within the footwell because I plan on installing a Vintage Air AC system there.
- I drilled a 3″ hole through the aluminum firewall to route all the cabling through, Brian from iWire suggested splitting the firewall in two pieces so the hole could be smaller but I found this to be more work than it was worth after looking at it. The cabling did indeed squeeze through the 3″ hole though it was a close fit towards the bulky part of the harness,
- Initial impression is very good regarding the harness and the service!
- Chassis
- Throttle pedal mounted. I chose to not use the Factory Five pedal mount because I didn’t like the location it put the pedal and because many have complained that it’s flimsy. I mounted directly to the aluminum firewall and added a piece of the FFR mount to support the backside. I may add a better bracket later if I decide it needs it.
- Fuel System
- I made the FFR modifications to the fuel pump and sending unit. I also modified the fuel pump to move the pump up higher to accommodate my hydramat at the bottom.
- Fuel tank has been installed and the fuel lines have been run to the engine.
- I plan to setup the fuel vapor canister somewhere but I haven’t decided where just yet.
- Fuel filler neck installed
- FFR does not include any instructions for the new-style filler neck. So I had to figure it out based on some scattered forum photos I could dig up.

Feeding the wiring harness through the firewall
Unpacking the harness
ECU mounting location
Pedal box setup, they’re mostly inline for-aft
Fuel filler neck install
More fuel filler
Repaired ignition harness using heat-shrink crimp connectors
Fuel tank install
Alternator install
The expert splicing jobs of the previous owner